How to Fix a Dripping Mixer Tap: A Complete 2026 Step-by-Step Guide
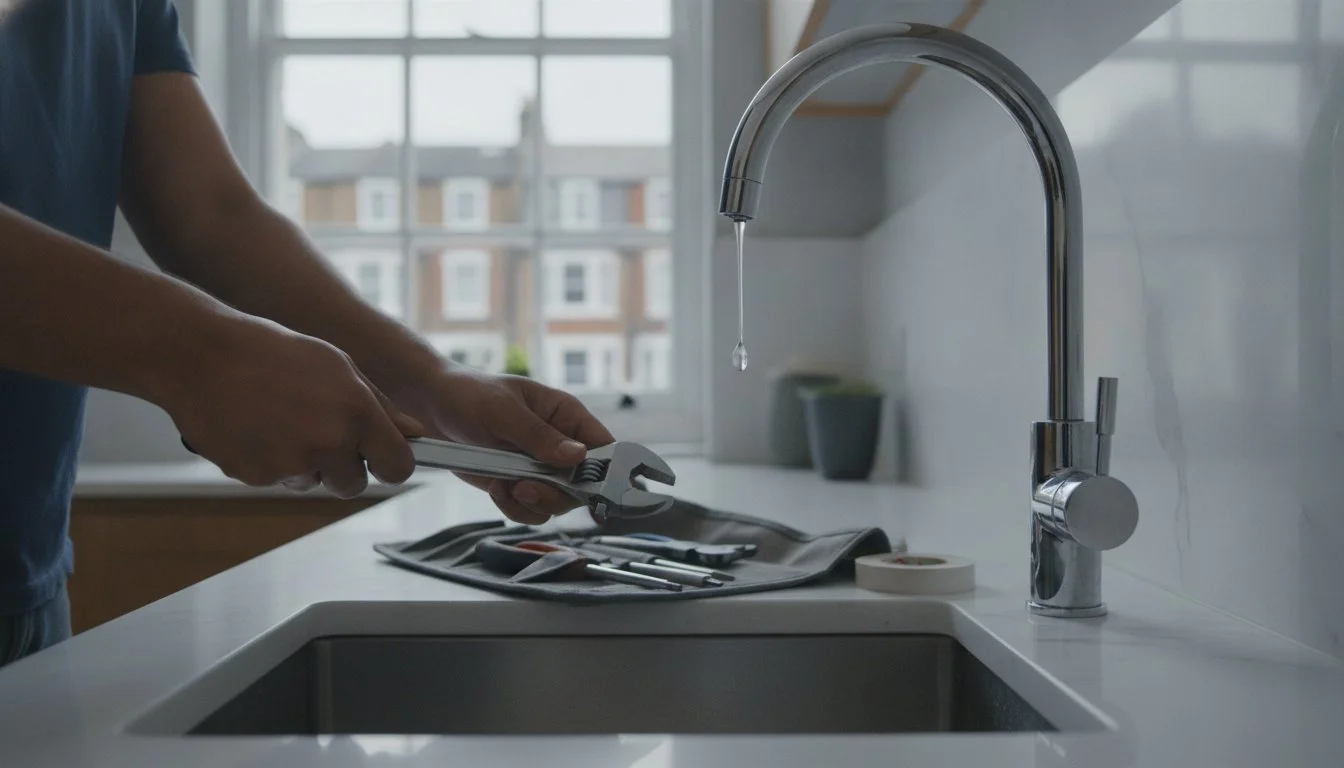
Did you know that a single leaking tap can waste up to 5,500 litres of water a year? With the 2026 Future Homes Standard placing a heavy emphasis on water efficiency, every drop counts more than ever. You're likely tired of the relentless "drip-drip-drip" echoing through your home and the mounting dread of a spiked water bill. It's stressful to worry that a simple leak might lead to a plumbing crisis or damage your expensive kitchen fixtures. Learning how to fix a dripping mixer tap is the fastest way to eliminate that stress and protect your home.
I understand the urgency of a household repair that won't wait. This guide promises to turn you into a confident DIYer by providing professional-grade techniques to stop leaks at the source. You'll save money on emergency fees and ensure your home stays compliant with modern water consumption limits. We'll preview the essential tools you need, explain how to identify modern ceramic cartridges versus traditional washers, and provide a clear path to a bone-dry sink. Let's get your plumbing back under control right now.
Key Takeaways
Identify your tap's internal mechanics to ensure you purchase the correct ceramic cartridge or washer for a precise repair.
Master the professional disassembly process, including locating hidden grub screws and protecting delicate chrome finishes from tool damage.
Learn how to fix a dripping mixer tap using professional techniques that ensure a long-lasting, leak-free result.
Assemble a specific toolkit to prevent common DIY errors like rounding off nuts or damaging internal valve seats.
Recognise the critical warning signs that indicate a leak requires professional intervention to avoid permanent damage to your plumbing system.
Table of Contents
Why Your Mixer Tap is Dripping (and Why You Shouldn’t Ignore It)
When DIY Fails: Knowing When to Call a London Emergency Plumber
Why Your Mixer Tap is Dripping (and Why You Shouldn’t Ignore It)
A dripping tap is more than a minor annoyance. It is a financial drain that works against you every second of the day. Every drop hitting your sink represents money wasted and resources lost. Statistics show that a single leaking tap can waste up to 5,500 litres of water annually. In 2026, with rising utility costs and the implementation of the Future Homes Standard, ignoring a leak is a gamble you cannot afford to take. You need to act now to protect your home and your wallet.
To solve the problem, you must first understand the mechanics of your fixture. A modern Tap (valve) generally comes in two configurations: single-lever or dual-lever. Single-lever mixers use a complex internal cartridge to balance temperature and flow with one movement. Dual-lever models often rely on individual valves for hot and cold water. Both systems are durable, but they aren't invincible. Learning how to fix a dripping mixer tap begins with identifying which of these mechanisms is currently failing under the pressure of daily use.
If you live in London or the South East, your plumbing faces an additional threat: hard water. High mineral content leads to rapid limescale buildup. These microscopic crystals act like sandpaper on your tap's internal components. They grind down the smooth surface of ceramic discs and tear through rubber seals. This is the primary reason why many DIY repairs fail. The damage is often caused by mineral erosion rather than simple mechanical wear. Understanding this environmental factor is key to a permanent repair.
Identifying the Source: Spout vs. Handle
Pinpointing where the water escapes tells you exactly which part to replace. If water drips steadily from the spout, the internal valve or cartridge is failing to create a watertight seal. If you notice water weeping around the handle when the tap is turned on, the culprit is usually a worn O-ring or a loose packing nut. Pooling water at the base of the tap is a different issue entirely. This suggests a seal failure where the tap meets the sink, or potentially a leak in the flexible hosing underneath.
The Hidden Risks of Delayed Repairs
Procrastination leads to expensive consequences that go far beyond a high water bill. Constant moisture creates permanent limescale staining on chrome and porcelain. These marks often become impossible to remove, ruining the finish of expensive fixtures. Even worse, water can seep into your cabinetry. This leads to hidden mould growth and structural rot that can destroy your kitchen or bathroom units. A small drip also creates a path of least resistance. A minor leak can suddenly escalate into a high-volume burst during a pressure surge, transforming a simple 15-minute fix into a full-scale household crisis.
Essential Tools and Preparation for a Leak-Free Repair
Before you start the clock, gather your equipment. A professional result requires professional tools. You'll need a set of Allen keys, an adjustable wrench, and needle-nose pliers. Most modern mixer taps use a tiny grub screw to hold the handle in place. This is where the Allen keys come in. Having the right sizes, usually 2mm or 2.5mm, prevents you from stripping the screw head and getting stuck before you even begin.
Protect your investment. Wrap a soft cloth around the tap's chrome shroud before applying your wrench. Metal-on-metal contact will leave permanent scratches that ruin the look of your bathroom or kitchen fixtures. Identification is also vital. Look for a brand name or logo on the tap body or the base of the spout. Knowing the manufacturer helps you source the exact replacement cartridge or washer you need, ensuring the parts fit perfectly on the first try.
Follow the "Sink Plug Rule" without exception. Block the drain with a plug or a towel before you touch a single screw. If you drop a grub screw down the waste pipe, a 10-minute job becomes a frustrating search through the U-bend. Considering how much water household leaks waste, every minute spent searching for dropped parts is money down the drain. Learning how to fix a dripping mixer tap requires this level of disciplined preparation.
Safe Isolation: Turning Off the Water Supply
Look under the sink first. You should see two isolation valves with blue and red levers. Turn these 90 degrees to cut the flow immediately. If these valves are stuck or missing, locate your mains stopcock. This is usually found under the kitchen sink or near the front door. Once the water is off, open the tap fully. This releases the internal pressure and drains any remaining water from the spout. If the valves won't budge, it's safer to call a professional for tap and toilet repairs rather than risking a snapped pipe.
London Hard Water Prep
Limescale is your biggest enemy during disassembly. If the tap shroud won't budge, soak a cloth in white vinegar and wrap it around the base for 30 minutes. This dissolves the mineral bonds safely. Never force a handle that feels seized. Forcing it can snap the internal spindle, which leads to a much more expensive replacement. While the tap is apart, soak the aerator in vinegar too. This restores full flow and ensures your repair meets 2026 water efficiency standards.
Step-by-Step: Replacing a Ceramic Disc Cartridge
Modern mixer taps almost exclusively use ceramic disc cartridges. These precision-engineered components have replaced the traditional rubber washers of the past. When your tap drips today, you aren't looking for a small rubber ring; you're looking to swap out the entire internal unit. Learning how to fix a dripping mixer tap in 2026 usually means mastering this specific replacement. It's a clean, efficient process, but it requires a steady hand and attention to detail.
Start by removing the decorative cap on the handle. This is often a small plastic disc marked with hot and cold indicators. Once removed, you'll see the brass retaining nut that holds the internal cartridge in place. Use your adjustable wrench to unscrew this nut. You must hold the tap body firmly with your free hand. This prevents the entire fixture from twisting and damaging the supply pipes beneath the sink. Once the nut is off, the old cartridge should lift straight out of the tap body.
Before inserting the new part, you must perform the most critical step that most guides overlook. Inspect the valve seat at the bottom of the tap housing. Even a microscopic grain of grit or a tiny flake of limescale can prevent the new cartridge from seating properly. Use a clean, lint-free cloth to wipe the internal base completely clear. If you skip this, your new cartridge will likely leak within days. A pristine surface is the only way to ensure a professional, long-lasting seal.
Removing the Tap Handle and Grub Screw
The handle is secured by a tiny grub screw hidden behind the indicator cap. Insert your Allen key and turn it anti-clockwise. You must use the exact size to avoid stripping the screw head. If the handle feels seized due to years of limescale, don't yank it. Apply the vinegar soak technique described in the previous section to break the mineral bond. Once the screw is loose, pull the handle vertically. Set the handle, screw, and cap aside in the exact order you removed them. This simple habit makes reassembly fast and error-free.
Identifying and Seating the New Cartridge
Look at the base of your new cartridge. You'll notice two small plastic lugs. These must align perfectly with the corresponding locator holes in the tap body. If they aren't flush, the tap will never seal. Drop the cartridge in and rotate it slightly until you feel it click into place. Hand-tighten the brass retaining nut first to ensure the threads aren't crossed. When you use the wrench, stop once it's snug. Over-tightening can crack the delicate ceramic discs inside, turning your new part into scrap metal instantly. Mastering how to fix a dripping mixer tap is about precision, not brute force.
Finally, replace the shroud and handle. Turn the water back on slowly. Opening the tap fully before opening the isolation valves allows trapped air to escape without causing a damaging pressure surge. If the flow is steady and the base remains dry, your repair is complete.
DownloadFeedback & RecreateDelete
Fixing Traditional Mixer Taps: Washers and O-Rings
While ceramic cartridges dominate the 2026 market, many households still feature traditional compression valves. These are common in older properties or "heritage" style fixtures. Don't assume your new tap uses a cartridge just because it was bought recently. Many high-end, traditional-style mixers still utilise compression valves for aesthetic reasons. If your handle requires several turns to reach full flow, you're likely dealing with a washer-based system. Knowing how to fix a dripping mixer tap with a traditional valve is a specific skill. It involves managing the relationship between the jumper, the rubber washer, and the metal valve seat.
The mechanics are simple but require precision. When you turn the handle, the spindle moves the jumper down. This presses a rubber washer against a metal seat to stop the water. Over time, the rubber hardens or the seat becomes pitted with limescale. This prevents a clean seal and leads to that persistent drip. Replacing these parts immediately is the only way to avoid wasting water and damaging your fixtures. If you find the internal metal is too corroded for a simple swap, you may need professional tap and toilet repairs to restore your fixture to full health.
Replacing the Tap Washer
Unscrew the headgear nut using your adjustable wrench. This reveals the internal assembly. You'll see a small rubber washer held in place by a nut or a brass screw on the jumper. Remove this component and replace it with a high-quality rubber or EPDM alternative. Before you reassemble, inspect the valve seat. This is the metal ring the washer presses against. If the seat is pitted or uneven, a new washer will fail within weeks. You might need a seating tool to grind the metal smooth again. This ensures the new washer makes perfect contact across the entire surface.
Stopping Leaks from the Tap Base
If water pools around the worktop when the tap is in use, the problem isn't the washer. It's the O-rings at the swivel base. Lift the spout assembly vertically to expose these seals. You'll usually find two or three rubber rings. Use a small screwdriver to carefully cut away the old, brittle rings. Be extremely careful not to nick the brass metalwork. Scratches here create permanent leak paths that no seal can fix. Understanding how to fix a dripping mixer tap also means addressing these external seals. Roll on the new O-rings and apply a thin layer of plumber's grease or silicone lubricant. This ensures a watertight fit and allows the spout to swivel smoothly without wearing down the new rubber.
When DIY Fails: Knowing When to Call a London Emergency Plumber
DIY repairs are rewarding until they aren't. You might start with a clear plan on how to fix a dripping mixer tap, only to find the internal components have fused together over a decade of hard water exposure. A 15-minute job can quickly spiral into a 4-hour disaster if a brass retaining nut rounds off under pressure or a spindle snaps. These moments require a calm head and the immediate intervention of a professional. Forcing a seized component often causes permanent damage to the tap body. This turns a cheap repair into an expensive replacement of the entire fixture.
High-end designer mixer taps present their own unique challenges. These luxury fixtures often feature bespoke internal configurations and delicate finishes that standard tools can easily ruin. If your tap represents a significant investment, the risk of a DIY error outweighs the saving of a call-out fee. Professional plumbers carry the specific pullers and protective tools needed to service these items without leaving a mark. They ensure the repair meets the highest standards of craftsmanship while protecting your warranty.
Signs You Need Professional Assistance
Sometimes the problem lies deeper than a simple washer or cartridge. If your tap continues to drip after you've replaced the internal parts, the valve seat is likely too damaged for a standard seal. You should also stop immediately if you discover water weeping from the copper pipework under the sink. This suggests a structural failure or a loose compression fitting that requires expert tightening or replacement. Most critically, if your isolation valves are seized and you cannot shut off the water, do not attempt to dismantle the tap. You risk a high-pressure flood that you cannot stop without professional help.
Why 24hr Plumbing and Heating is Your Safety Net
We provide the technical authority and rapid response you need during a household crisis. Our London-based engineers are available 24/7 to handle urgent tap and pipe failures across the M25 area. We pride ourselves on transparent hourly rates and a no-nonsense approach to repairs. We arrive fast to provide emotional relief and technical solutions that last. If your attempt at how to fix a dripping mixer tap has hit a wall, don't let the situation escalate into a flood. Book an Emergency Plumber in London for a guaranteed fix today. We protect your home from water damage and restore your peace of mind instantly.
Take Control of Your Home Plumbing Today
You now hold the professional roadmap for how to fix a dripping mixer tap. Success depends on correctly identifying your tap's internal mechanics and maintaining a pristine valve seat before reassembly. Whether you're swapping a modern ceramic cartridge or a traditional rubber washer, precision remains your most valuable tool. You've learned how to protect your chrome finishes and prevent small components from disappearing down the waste pipe. These steps ensure your repair meets the strict 2026 water efficiency standards while protecting your fixtures from long-term damage.
Sometimes a seized nut or a hidden pipe failure demands immediate technical authority that goes beyond a standard DIY kit. Don't let a minor repair escalate into a full-scale household crisis. Our Gas Safe Certified Engineers provide a 24/7 rapid response across London and the M25 area. We prioritize integrity and efficiency, offering no-nonsense transparent pricing for every emergency call-out. Get a 24/7 Emergency Plumber in London Now to restore your home's plumbing system to peak performance instantly.
You have the knowledge and the tools to stop the waste and protect your property from water damage. Take the first step toward a bone-dry sink and a lower water bill today. Your home deserves the care of a professional finish.
Frequently Asked Questions
How do I know if my mixer tap needs a new washer or a new cartridge?
Check the handle's range of motion to identify the internal mechanism. If the handle rotates several times to reach full flow, it uses a traditional compression washer. If it only moves a quarter or half turn, it contains a ceramic disc cartridge. Learning how to fix a dripping mixer tap requires this initial identification to ensure you purchase the correct replacement parts.
Can I fix a dripping mixer tap without turning off the water?
No, you must never attempt to dismantle a tap while the water supply is active. Opening the fixture under mains pressure will cause an immediate and uncontrollable flood in your kitchen or bathroom. Always locate the isolation valves under the sink or turn off the mains stopcock before you touch a single screw.
Why is my mixer tap still dripping after I changed the cartridge?
Grit or limescale debris likely remained on the valve seat during the installation process. Even a microscopic particle prevents the new ceramic discs from forming a watertight seal. You must disassemble the unit again and wipe the internal base with a lint-free cloth. Ensuring a pristine surface is the only way how to fix a dripping mixer tap permanently.
How much does a plumber typically charge to fix a dripping tap in London?
Professional rates for tap repairs in the capital depend on the time of day and the complexity of your specific fixture. While a basic repair is straightforward, designer taps or seized components may require more time. Look for service providers who offer transparent, hourly pricing and Gas Safe credentials to ensure you receive a reliable and legal repair.
Is it better to repair a mixer tap or just replace the whole unit?
Repairing is the best option if the external tap body remains in good structural condition. If you notice heavy pitting in the metal or the chrome finish is severely corroded, a full replacement is a wiser long-term investment. New fixtures often provide better water efficiency, helping households stay within the 110 litre per person daily limit mandated in water-stressed areas.
What is the most common cause of a leaking kitchen mixer tap swivel base?
Worn O-rings are the primary cause of water pooling around the base of a swivel spout. These rubber seals perish over time due to friction and mineral deposits from the water supply. Replacing these rings and applying a thin layer of silicone lubricant restores the seal and ensures the spout moves smoothly without further leaks.
Can hard water in London cause my taps to fail more frequently?
Yes, the high mineral content in London's water supply leads to rapid limescale accumulation. These hard crystals act as an abrasive that grinds down ceramic discs and tears through rubber washers. Regular maintenance, such as soaking components in white vinegar, helps combat this mineral damage and extends the lifespan of your plumbing fixtures.
Do I need a special tool to remove the cartridge from my mixer tap?
Most repairs only require standard tools like an adjustable wrench and a set of Allen keys. However, some specific designer brands use unique retaining nuts that may require a dedicated cartridge puller. Always check the manufacturer's guide before starting to avoid using the wrong tool and rounding off the brass components.